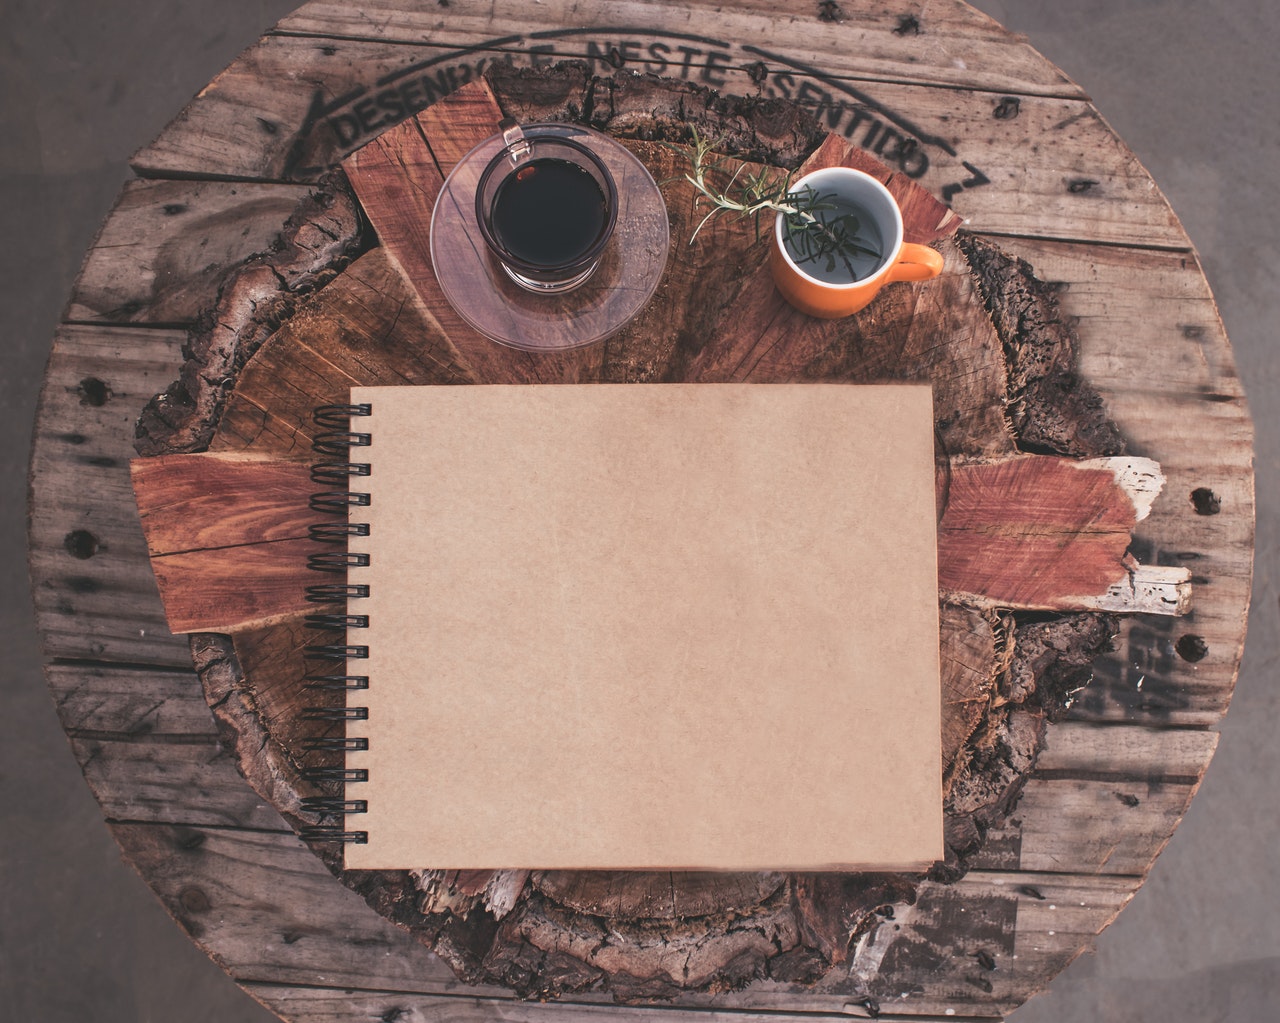
Many people continue to engage in craft projects and creative hobbies. Despite advances in technology that allow anybody to draw on a computer or mobile device, a lot of people across all demographics are getting into activities that involve creating something with their hands. If you’re interested in such creative projects but don’t know where to begin, scrapbooking can be an excellent place to start. Here are the basics you’ll need:
Gather ideas
To the casual observer, a scrapbook can seem like a patchwork of stuff that’s been put together. But there’s much more creativity and curation involved, and that begins with proper planning. When it’s your first time making a scrapbook, the same abundance of ideas and materials that makes it an exciting hobby can also lead to confusion; you might not know where to start or what to fit into your album.
Make a list of your best topicsand write down any other ideas that come to mind or are associated with those topics. For instance, a travel scrapbook can cover vacations, trips you’ve made out of the country, or local adventures within the city. This will give you a better estimate of how much material you have to work with, and whether you can narrow it down.
ADVERTISEMENT  |
Some people enjoy organizing, and this stage of the project can be very satisfying. But if you’re not too keen on that sort of task, relax and keep things loose. Remember to have fun!
Get your materials
There are several scrapbooking staples you’ll want with every project, and a plethora of other options to make yours unique. Start by procuring an album, which will determine the amount of space you have to work with. Then take inventory of your relevant personal effects. In the travel album example, you’ll want to get a hold of hard copies of photos, admission tickets, receipts, tourist brochures, and maps, maybe even old passports. You’ll have a better idea of how much material you can fit into the album, and how much needs to be left out.
Now you can assemble your tools and additional supplies. Adhesives, a good pair of scissors, and some card stock or patterned paper are essential. More embellishments can follow according to your taste; stickers, ribbons, and washi tape can all brighten up a page. Wood stamps allow you to create a signature image across pages and albums. Painting materials or paper cutting tools, for example, let you bring in a touch of your other hobbies.
Organize your layout
With all the materials at hand, your task now shifts to arranging the layout. As your scrapbook tells a story, this also involves some editorial work, and you’ll want to engage with a mindset of quality over quantity. Which photos make it into the final album? The answer depends on your preference for technical attributes or the effective capture of a particular scene or moment. You’ll also need to figure out where to place the photos, and what accessories go well with a specific page.
ADVERTISEMENT |
Once again, this is a task that some people enjoy. If that’s not your kind of thing, bear in mind that there’s no right or wrong method to go about it. An editor won’t review your work, so it’s perfectly fine to select and arrange elements based on the emotions they elicit or the memories they bring back, for example.
Your scrapbook is above all a personal expression; do what feels right, and you’ll end up with an album that truly represents you.